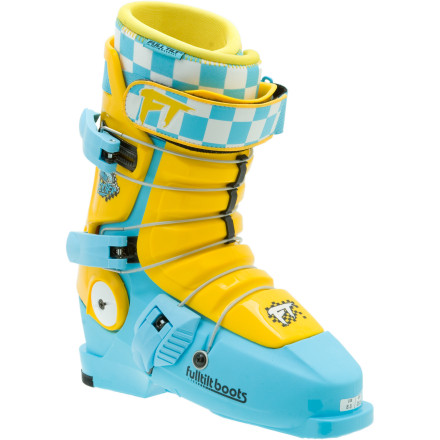
I just painted my helmet. All these steps are an absolute must, and then your boots are guaranteed to chip... But my helmet is old, I hated the color and I dont bash it as much as the boots, so its up to you, but they will chip eventually. They will chip less if you follow these steps however.
1. Sanding - First get a high grit sand paper called "wet or dry sandpaper". They sell this stuff at autozone or another autoparts store. The first grit you use should be between 600-800. You will have to sand for a while. Any part that you dont get the shiny surface off will not hold paint well. So expect to spend a while (1-2) hours per boot. I spent a long time doing my helmet, the sanding should be where you put the most effort in.
2 - Get VALSPAR plastic paint. It has to be plastic paint. Take the boots outside and hold the can about a foot away. If you hold the can closer than eight inches the coat that you put on will be too heavy and will not hold. Hold the can a foot away and take quick whispy movements back and forth, letting go of the nozzle each time, dont go back and forth with the nozzle down. The trick is to put on the least amount of paint at once. Don't cover the whole surface at once. Do as little paint as possible with each "coat". The first 5-6 coats should just be mist. Leave atleast 10-15 minutes inbetween. When I did this I watched a football game and put a coat on about every third time it went to commercial. I did about 20 coats. It only takes about 3-7 minutes a coat. Keep going until you have full coverage and you're satisfied.
3 - Buff - This step is very important for your boots protection. Much more important than it was for my helmet. You want to get a super high grit buffer (2000-3000 grit, also at the automotive store) and buff off the first layer of paint. I know this sounds backwards. Wait until after the paint has dried for atleast a day, I would recommend three days. Buff off the layer of paint until it looks like it did after a coat or two. Dont buff it off completely, just roughen the paint. This is counterintuitive, you are making the paint coating rougher to accept more paint, but you are also smoothing the excess paint out for a better finish... making the boot both rougher and smoother.. I know. The point is to take the paint down to a rough-paint surface. First you were painting on rough-plastic, now you'll do rough paint. If you get a nice rough paint surface, you can put on the finishing coats of paint (same as step 2) and the paint will not only hold better, but it will be very, very smooth. Finish with the same painting technique until you like the coverage.
4. Protect - Clear Coat - Get a spray can of gloss or satin clear finish. This does not have to be plastic paint as you are now painting over paint, and not plastic. Put on a few coats and the boots should have a great sheen, but more importantly they are much less likely to chip.
